With OS X El Capitan, Apple has built on many of the changes that were brought on by Yosemite. And as with previous OS X versions dating back to OS X 10.7, El Capitan is only available for install via download from the App Store.
So if you previously relied on DVD installs, you won’t be able to do so with this version. Luckily, DiskMaker X helps fill the void by allowing you to make a bootable OS X 10.11 El Capitan USB install drive, making a task such as installing on several different machines easier.
Like the previous versions, DiskMaker X is free of charge (however, donations are accepted). All you need is an 8 GB (minimum) USB thumb drive, a USB, FireWire, or Thunderbolt drive or an SD-Card; the OS X 10.11 El Capitan Installer from the App Store (once the download is complete the installer file will appear in the Applications folder — do not move it); and the DiskMaker X installer. It should be noted that DiskMaker X erases the volume or the drive you chose, according to the options you chose. So don’t forget to backup your data first.
Here is our brief walkthrough for making an install drive:
1.) Launch the DiskMaker X installer and in the disk image window that appears, drag the application icon onto the Applications folder icon. The application will only take a second or two to be copied into the folder (it’s a small file). When finished, right-click in the disk image window and choose Eject Disk.
2.) Connect your USB thumb drive to your Mac, then launch the DiskMaker X application from your Applications folder.
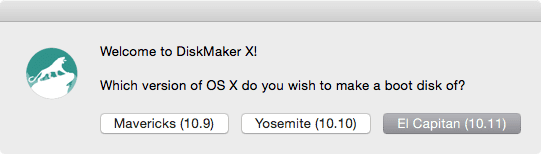
3.) A small window will appear asking you to choose from three versions of OS X, in order to create the boot disk. Click the button that says “El Capitan (10.11)”.
4.) By default, DiskMaker X should find the OS X installer file you downloaded earlier. Click “Use this copy”.

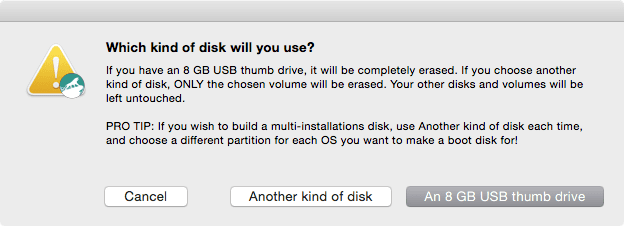
5.) Next you will be asked which kind of disk you want to use for your bootable installer. For this example, click the button that says “An 8 GB USB thumb drive”.
6.) DiskMaker X will find the available thumb drives connected to your Mac. Select the disk you want to use and click “Choose this disk”.

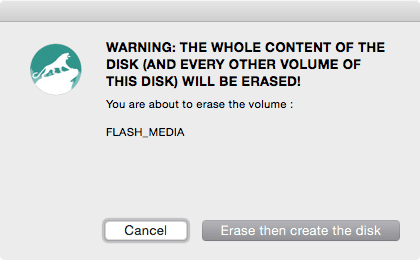
7.) DiskMaker X will warn you that you are about to erase the disk. If you are OK with this click “Erase then create the disk”. DiskMaker X will remind you that administrator privileges are required. Click Continue.
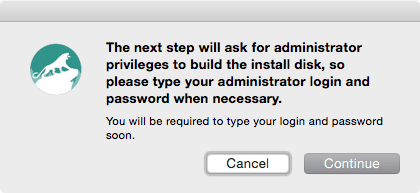
8.) Initially you will not see any windows for several seconds, then the administrator password dialog will appear. Type in your administrator password and click OK.
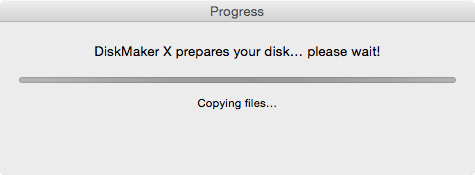
Next you will see a small window with progress information on it as the installer disk is created; the information will change as the process nears its end. Because the application sets up more than 6GB of installer data via a USB connection (most thumb drives use USB 2 which has a maximum data rate of ~ 50MB/s), this process will take a while. In our test, Step 8 took ~ 32 minutes.
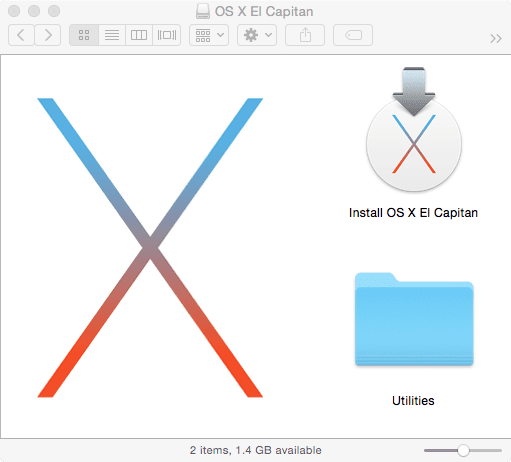
9.) When the process is finished, a window should open displaying the contents of the new bootable drive. You can close this if you do not wish to begin the install process right away.
10.) Finally a dialog will pop up telling you that your boot disk is ready, giving you further options to quit, open the startup disk preferences so you can begin the OS X install process, and an option to make a donation.

(Within the Startup Disk preferences, once you set the new bootable installer disk to be the active boot drive, you can click the Restart… button and the OS X installation process will begin. From that point you can follow the standard OS X prompts as they appear.)
No comments:
Post a Comment